Apple Clips allows users to create and edit short video clips quickly. The app offers various features, such as adding filters, text, stickers, and animated emoji to videos and the ability to include music and sound effects. It also provides simple tools for trimming and rearranging clips to create engaging and fun videos.
One of the standout features of Apple Clips is the “Live Titles” feature, which allows users to create animated captions and titles just by speaking while recording. The app uses voice recognition technology to generate text in sync with the user’s speech, making it easy to create captions without typing them manually.
Here’s a general guide on how to use Apple Clips:
Download and Install
Click the link to download the Apple Clips app from the App Store.
Alternatively follow the below steps.
- Search for “Clips” in the App Store on your iOS device.
- Download and install the app.
2. Open the App
Tap on the Clips icon to open the app.
3. Sign In (if necessary)
When loading up Apple Clips, you may see the below warning.
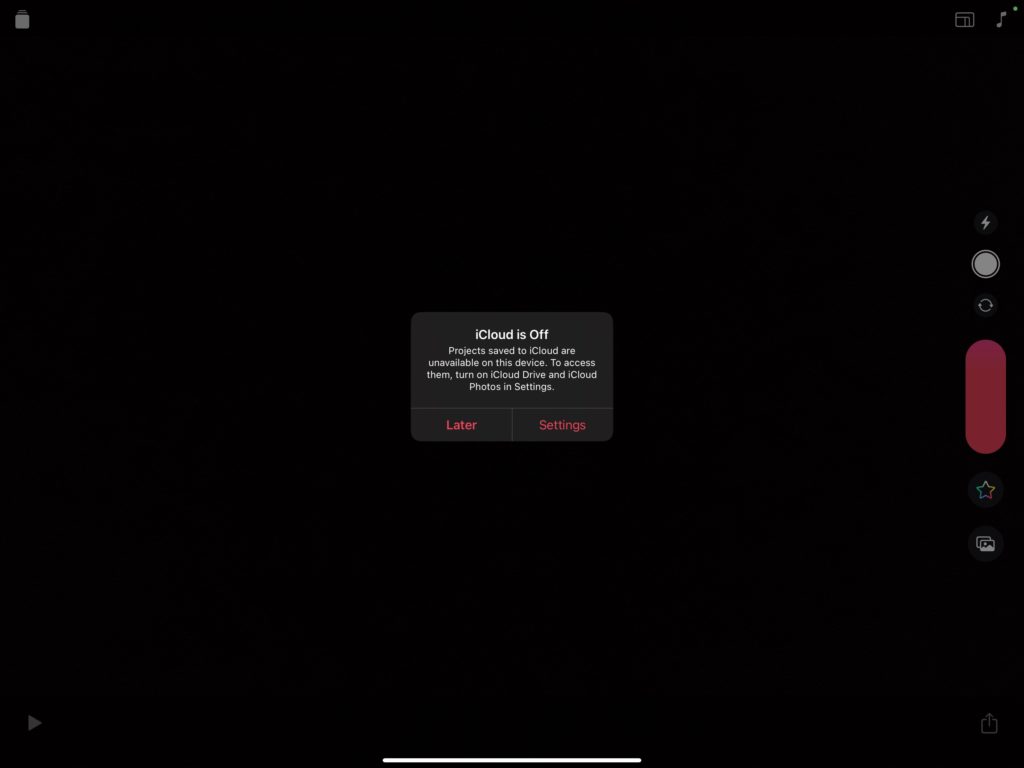
1. You must sign in with your Apple ID or set up an Apple ID account.
2. Alternatively, if your school utilises Apple’s “Shared iPad, ” pupils are not prompted to sign in. All their work will be automatically saved to their profile and can be accessed from any iPad they log into. Making it more accessible and seamless for pupils to access work regardless of their iPad device.
5. Record Video
Press and hold down the red record button to start recording your video. Release it when finished with the current clip.
Clips use a “live title” feature that generates captions as you speak, but you can also add text manually afterwards.
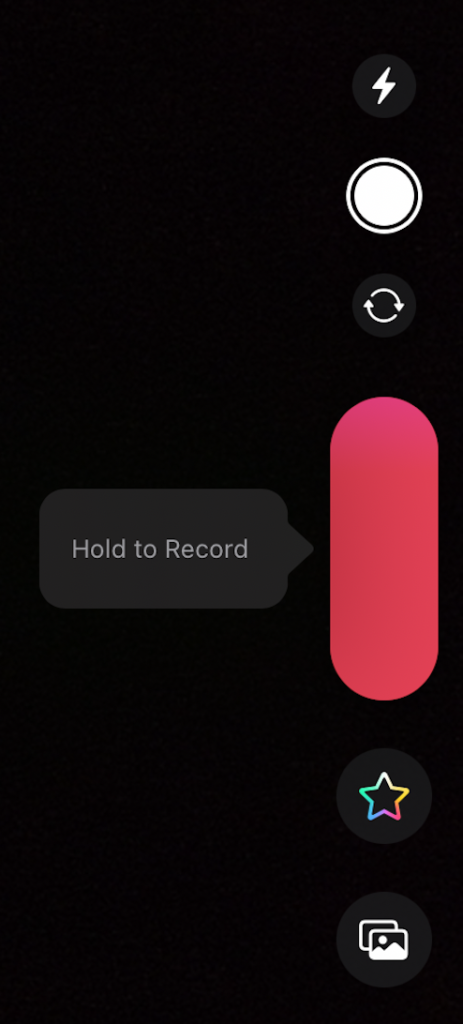
4. Import Media

Alternatively, you can import existing photos and videos from your device by tapping on the square icon with the upward-pointing arrow.
6. Edit Video Clips

After capturing or importing clips, you can rearrange their order by dragging them in the timeline at the bottom.
To trim a clip, tap on it in the timeline, then drag the handles at the ends of the timeline to adjust its length.
7. Add Effects, Filters, and Stickers

Tap the star icon to access a range of filters, stickers, emoji, and animations to enhance your video.
You can also use the “Labels” feature to add animated, full-screen captions to specific parts of your video.
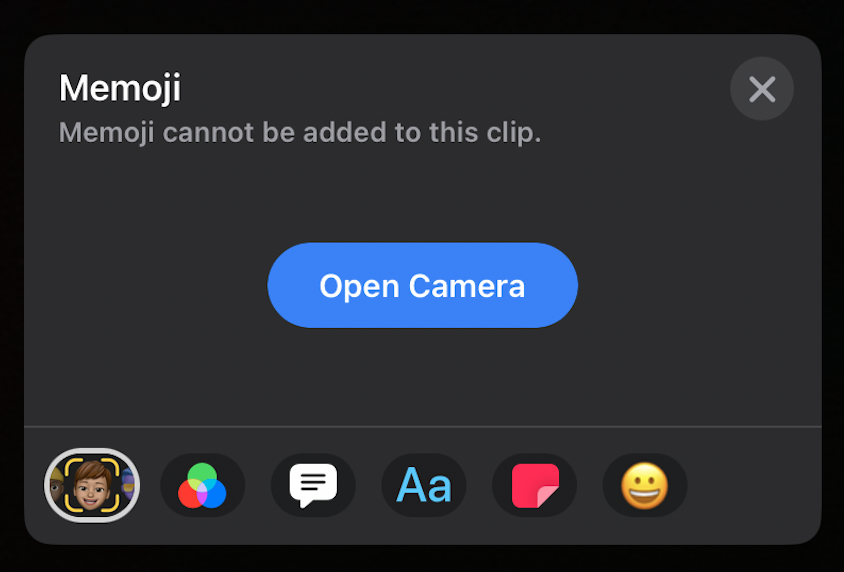
8. Add Memoji, Filters, and Text
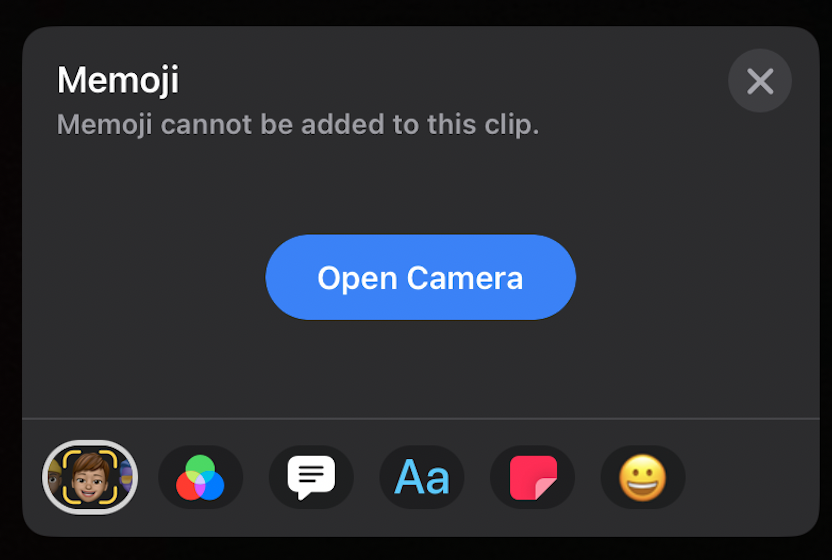
You can add Memoji effects to your clips.
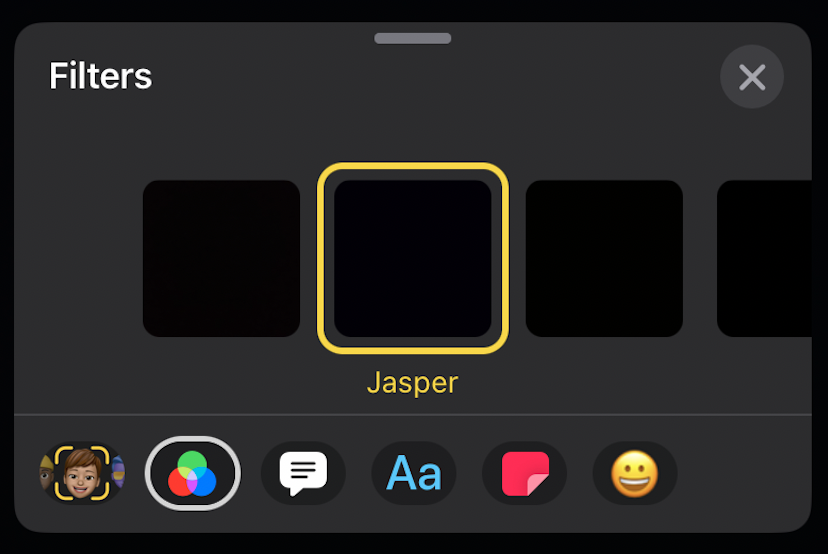
You can also add effects to your clips.

Overlay text to your clips.
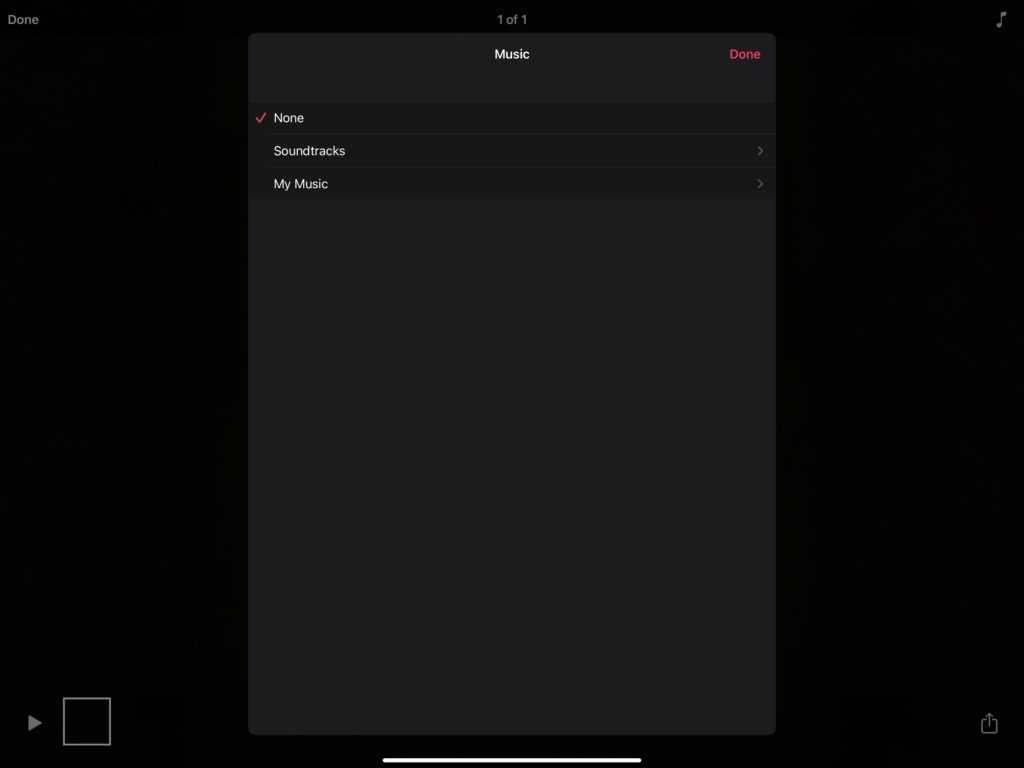
9. Add Music and Sound
Tap the musical note icon to add background music to your video. Clips offer a selection of preloaded soundtracks, or you can use music from your device’s library.

10. Live Titles
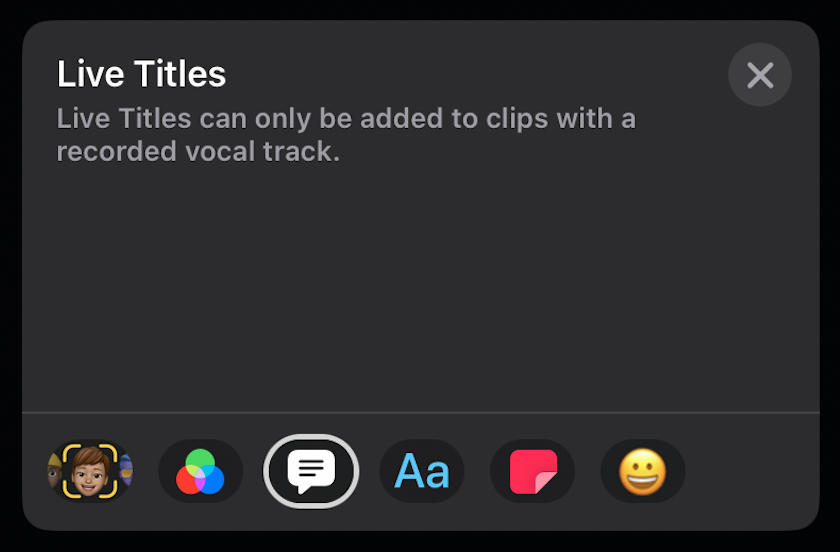
As mentioned earlier, Clips automatically generates captions (Live Titles) based on your speech during recording. You can edit these captions or disable them if you prefer.
11. Post and Share

If you want to save the project to your managed Apple ID account, tap the “Save Clip” option. This will also upload the project to the cloud.
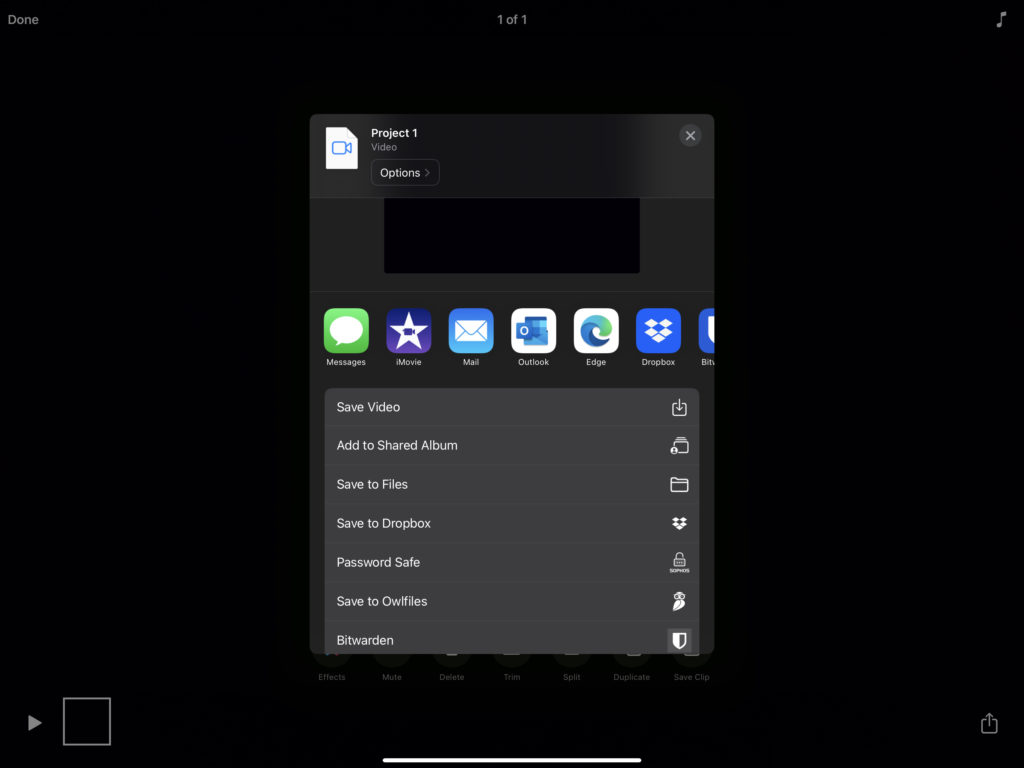
Once satisfied with your video, tap the “Share” button in the bottom-left corner.
Here you can save your project to OneDrive, Google Drive or even email the project.
12. Additional Features
Explore other features in Clips, like “Posters, ” pre-designed title cards for your video, and “Selfie Scenes”, which uses the TrueDepth camera on newer iPhones to transport you into 360-degree animated environments.
Remember, as with any app, the user interface and features might change with updates, so it’s a good idea to check back here for latest changes and feature updates!