Learning a new platform isn’t easy. That’s why we have put together a Microsoft Forms Quick Start Guide for all you curious technophobes out there! This is the first edition in a series of posts explaining commonly used services and platforms.
So, what is Microsoft Forms?
Microsoft forms allows Office 365 users to create custom surveys, quizzes, polls and questionnaires in minutes. It is a great way to ask quick questions and receive feedback or conduct an in-depth survey with up to 5000 responses.
Microsoft Forms allows the content created to be sent as an invitation to other users and be filled out on any O365 compatible device. The creator can see real time results and use inbuilt statistics or export the data for further analysis.
So let’s get started with today’s blog post; Microsoft Forms Quick Start Guide
How to access Microsoft Forms
- Open a web browser and go to https://office.com
- Log in with your Office 365 Account
- Click on the Application Launcher located on the top of Office 365
- Select Forms from the list of applications (or select All Apps, and select Forms from the extended list)
Creating a New Form
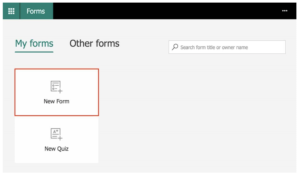
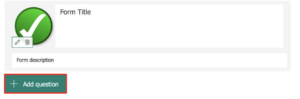
- From the Forms homepage click New Form, which opens a blank form.
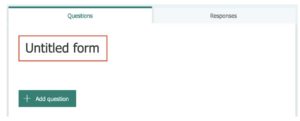
- Click Untitled form to edit the title and add a description
- The form auto-saves, a save indicator in the top left corner confirms when completed

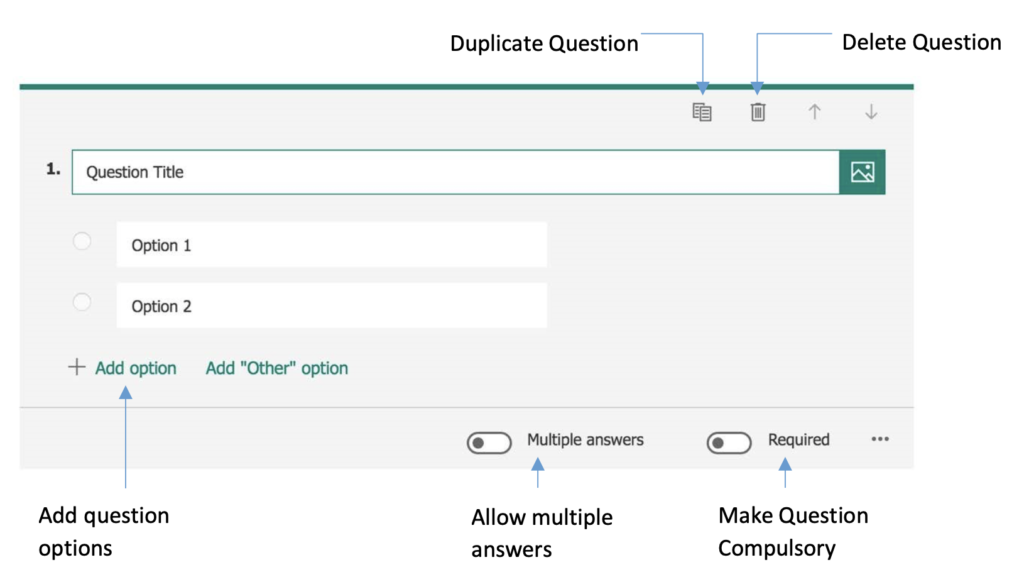
- Click Add Question to create content
- Choose the type of question: multiple Choice, Text, Rating, Date or Ranking

- Fill in required fields for the selection – Available options will change depending on question chosen.
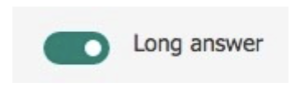
- For text responses, a long answer option is available. Activating long answer option by clicking the slider, green indicates option activated.
- Click + Add Question to insert additional content.
Adding Media to Forms
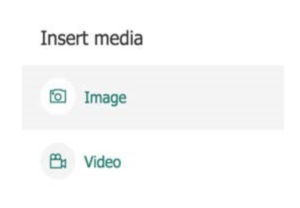
Click the Media icon to add media (image or video) to a question

- Select Image or Video
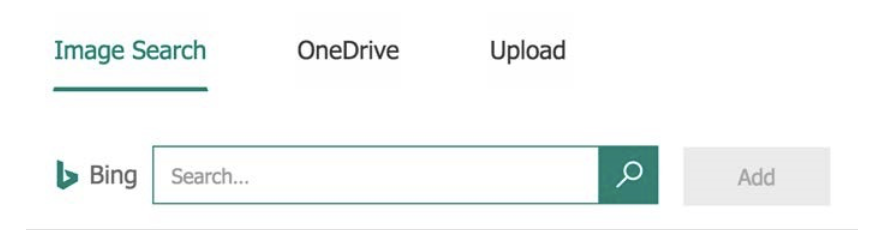
- To add an image
- Select Upload
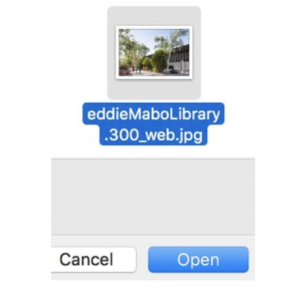
- Select an image and click Open
- To add a Video
- Paste the Youtube URL (web address) of the video into the URL box (this works with Private, Unlisted and Public Youtube Videos).
- This also works with shared videos from your OneDrive account
- Paste the Youtube URL (web address) of the video into the URL box (this works with Private, Unlisted and Public Youtube Videos).
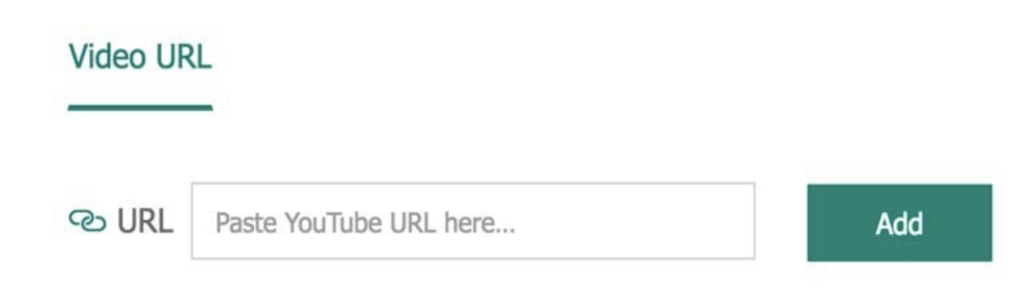
- Click Add.
Sharing a Form
Once complete, use the toolbar options to preview, add a theme or share the form
Preview: Preview the form to see how it looks when viewed on a computer or mobile device
Theme: Select a colour or theme to apply to the form, or upload a custom banner image
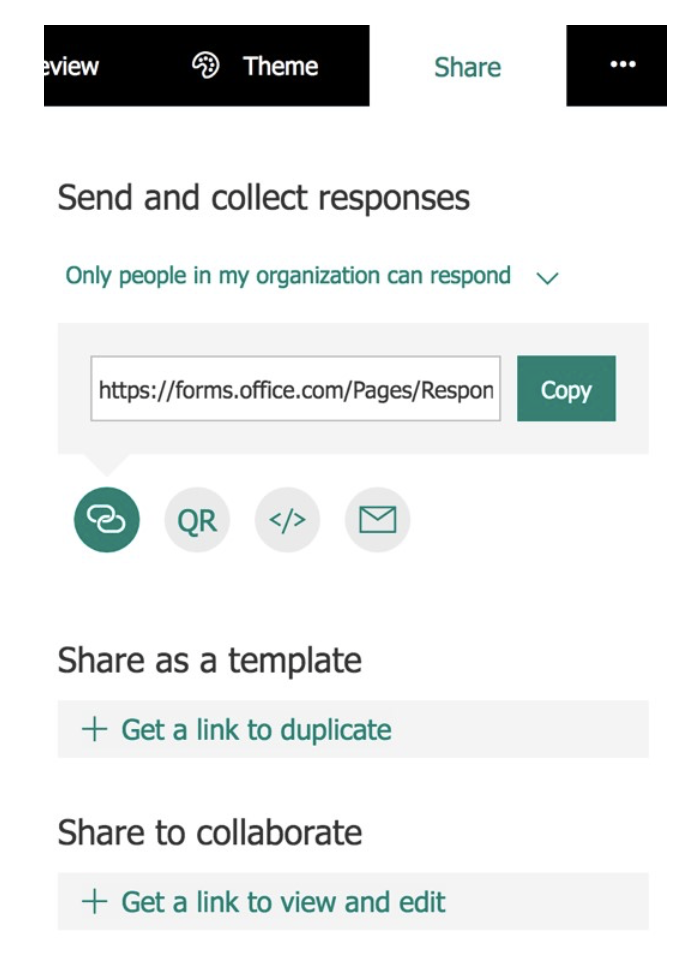
Share: Share the form and choose sharing settings

There are 3 options for sharing forms: Send and Collect Responses, Share as a template and share to Collaborate
- Click Share from the Form toolbar

- Choose an audience from the dropdown menu.
- Forms sent to people within the organisation can be set to record the person’s name.
- Forms sent to external email address will only record the respondents name as anonymous.
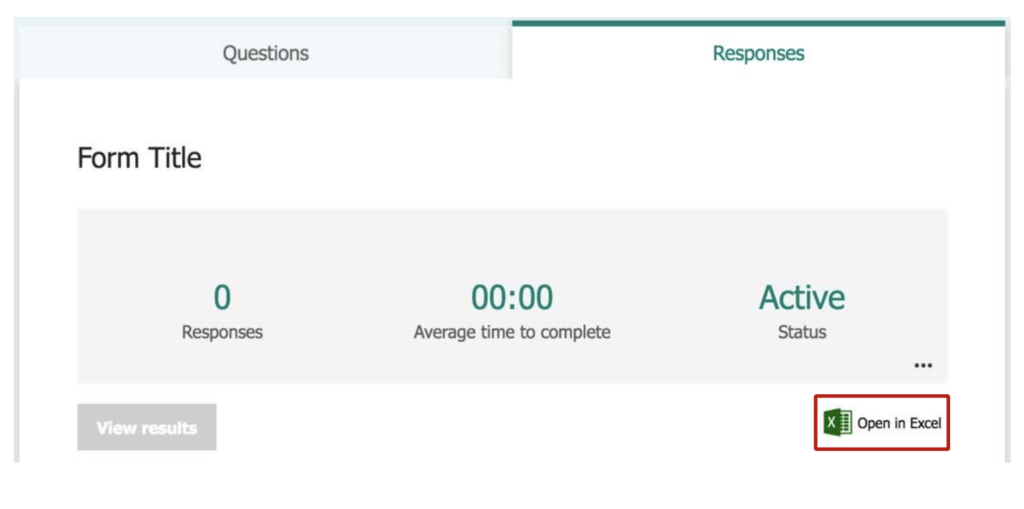
View Form Responses
To view responses, go to https://forms.office.com or navigate back to the Forms dashboard and open the appropriate form.
Click responses at the top of the form.
When people have completed the form, this is where the results can be viewed.

Results can be viewed in Excel by clicking Open in Excel
Viewing Saved Forms
To view saved Forms or Forms you have been granted edit access to, go to https://forms.office.com The Forms Window has two tabs:
My Forms: Forms you have created
Other Forms: Forms that you have edit access to

You can then select the appropriate tab to view available saved forms
Conclusion
That’s it! I hope you have found Microsoft Forms Quick Start Guide, useful and has empowered you to try some of these tactics out for your self in a production environment.
Download a pdf version of Microsoft Forms Quick Start Guide here