6 Basic Tips to OneNote for Microsoft users of any kind. Learn everything you need to know and start to use yours as your own digital version of a notebook.
What is Microsoft OneNote?
Microsoft OneNote is an application created for digital note-taking and gathering information, which can all be swiftly backed up to Microsoft Office 365 cloud, acting as a ‘Digital Notebook’ for it’s users.
Anything you can do with a piece of pen and paper, you’ll be able to do with OneNote. It’s users can type notes and create lists, with the added benefit of being able to insert drawings, audio commentaries and screen clippings to their notes. These documents can be shared with others online to suit the user’s needs. What could be better? It might surprise you to hear that Microsoft OneNote is free and available now for your PC, apple and android device.
Who uses Microsoft OneNote?
OneNote is so versatile that whatever your job, interests or intention you can be sure that it will be a brilliant tool for you to use. Whether you’re a CEO of a successful company, a school teacher, or a busy stay at home parent, you’ll no doubt find a handful of exceptional ways to use it.
Whether it’s for taking notes at a meeting, writing your to-do list, remembering upcoming tasks or capturing your ideas in the moment, you’ll be thrilled with your easy to use digital notebook.
How to use Microsoft OneNote?
Using Microsoft OneNote will be no trouble with a little help from our 6 Basic Tips to OneNote. We will give you the easiest ways to get the most out of the app to suit you and your needs.
1. Create your Notebook
Think of your OneNote app as just a digital notebook. Just like in a normal notebook, your OneNote notebook will be made up of a collection of pages, for you to use as you please. To start using your Microsoft OneNote you need to first create a notebook…
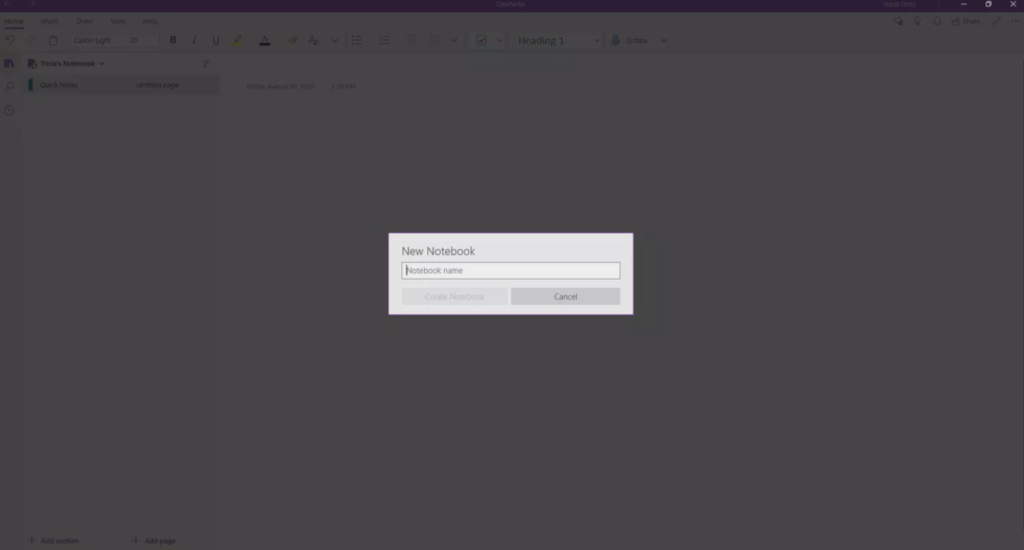
1. On any page in your OneNote app you will see a Show Notebooks button. Click on this button.
2. You will see an option to Add Notebook. (Depending on the device you are using it may also display as ‘+ Notebook’).
3. Name your Notebook and then simple select ‘Create a Notebook’. OneNote will switch straight over to the new notebook, where you will see a new section and a new blank page. You can use this notebook to continue to add pages to.
TOP TIP: When creating a Notebook, remember that there is no limit on the amount of Notebooks you can create. You can make a work notebook, a to-do list notebook, a notebook with details of your utility bills. Name your Notebooks wisely and use them wisely to get the most out of this app. Finding pages you’ve created will then be easier and your app will work more efficiently for you.
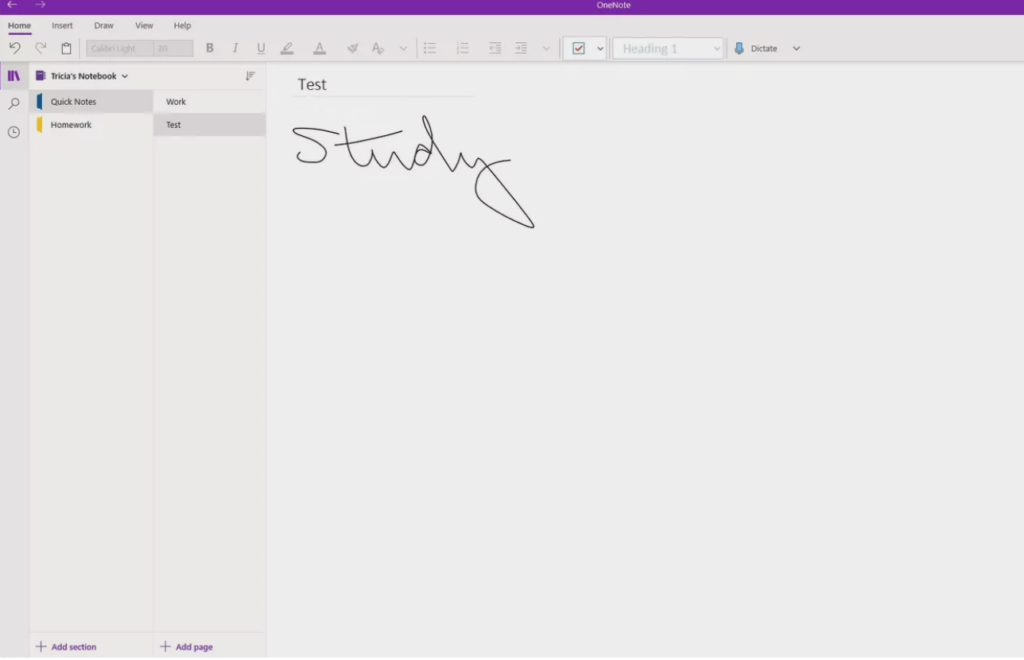
2. Typing/Writing notes
This is the easy bit, how to fill your blank pages. How you chose to do this is completely up to you and your style of using technology or taking notes. There are four options of how to fill your pages;
1. Type onto the page provided, as you normally would when suing a computer, tablet or your smart phone.
2. Physically handwrite onto the page using a digital stylus.
3. Use your voice to embed a sound file (very handy for those of us that are on the go and need to take notes with immediate effect).
4. Snap a picture and upload it onto the page, great for those creative personalities or visually thinkers.
TOP TIP: You don’t have to stick to one style of inputting information, all of your pages could be different. In fact, one single page within your notebook can be filled with all 4 ways to create notes. Think of it this way, you’re starting a business and you’re jotting notes down. You type a few notes with ideas and you suddenly think of a brilliant logo style. You take your pen and you draw a rough sketch. Later that day you’re walking past a shop and it has the exact colour scheme you want, so you snap a picture. You’re on your way home and you’re walking to get your Uber, you have one final idea to add to your page. You’re too rushed for time to stop and type it so you record a sound file and upload it to listen to later. That’s one page used effectively to meet your own needs.
3. Including Images, Videos, Sound Files, or Documents
Adding files to your OneNote pages can be so helpful for it’s users, and it doesn’t have to be a complicated process. Photos, for example, can be used for future reference instead of getting lost in your personal gallery, and they can also be extremely useful when you’re sharing your page with others to ensure that they are understanding the message that you’re trying to get across e.g. if your sharing a collage of photos to share a design idea with a business partner.

1. To insert an image, select Insert > Picture, Online Pictures, Clip Art, Scanned Image, and more.
2. You can also insert files from a word processor, spreadsheet, or presentation. Inserted files appear as clickable icons. Select Insert > File Attachment > Choose your file(s) > Insert.
3. To insert a screenshot you have captured and saved, select Insert > Screen Clipping > Drag to define the area to capture > Save file.
TOP TIP: Once you have added an image, screenshot or file then you can easily resize the image, layer it and position it and edit the text wrapping to ensure it fits into your document and is ordered and flows well.
4. Get organised
Now you’ve created and named your NoteBook, you know how to add pages, now it’s time to get organised so that your Notebook doesn’t end up in a mess. Our top 3 ways will help you to keep your Notebook’s organised and easy to navigate, even when they’re filled with pages.
1. Create sections. You can create sections within your notebooks to customise them to suit you and your needs. You can create sections and name them to suit you. Whether it’s months of the year, different classes/lessons, whatever suits you and your reasons for having the Notebook.
To create a section, select ‘+Add Section’ or ‘+ Section’ at the bottom of the sections list on the left hand side of the window.
To move a page from one section to another, drag the title of the page to the section where you would like it to be.
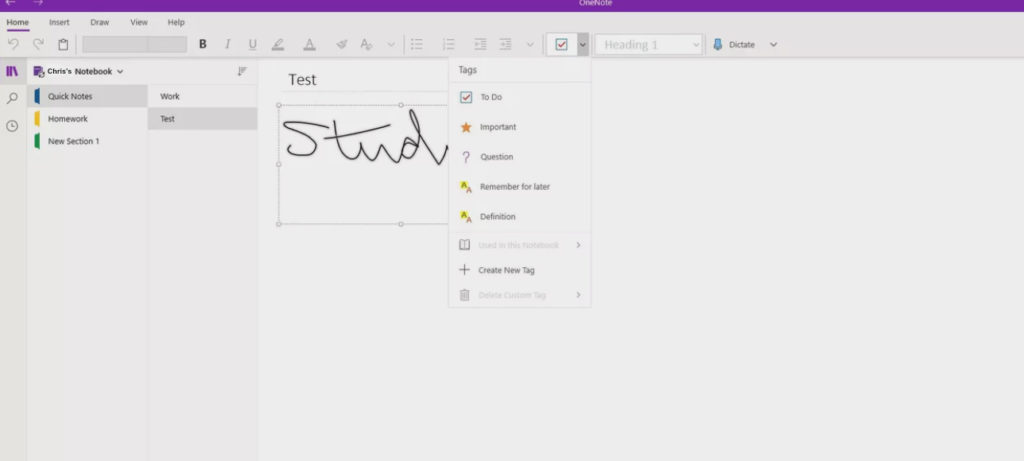
Select text > select the relevant tag e.g. the To Do tag (this will change based upon your needs) > Select the arrow next to the To Do icon to choose another tag to further prioritise e.g. Important, Remember for later, etc
2. Move your pages. It’s easy to move pages around your Notebook once they have been created – this is the joy of a digital notebook, rather than pen and paper.
3. Tag and Prioritise Notes. There are lots of searchable tags already on your OneNote. For example, if you’re organising your to-do lists you would;
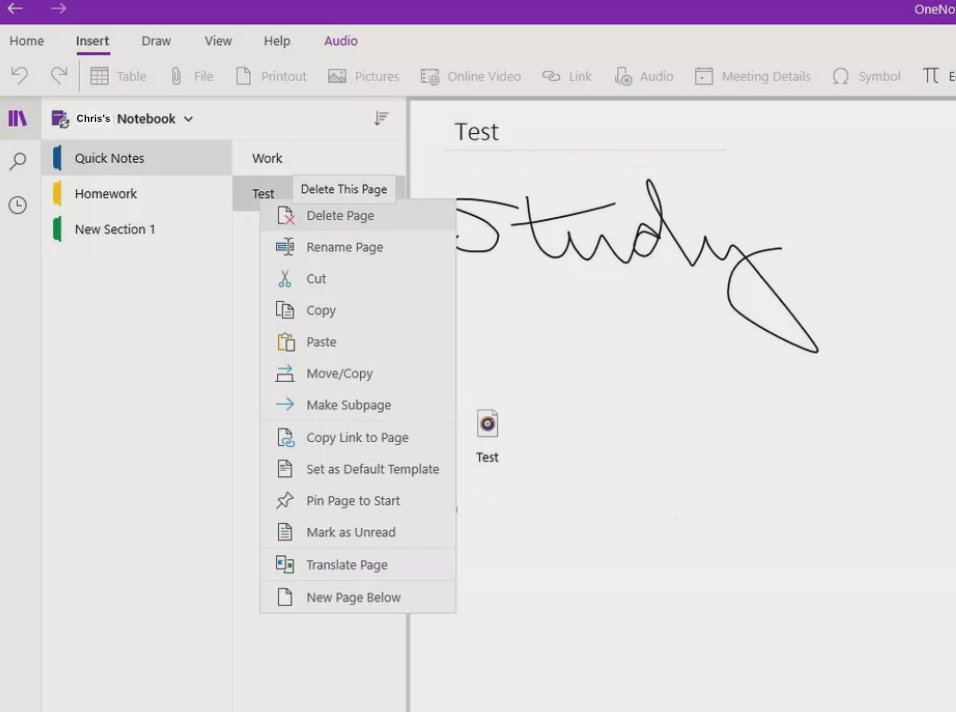
5. Delete/recover notes
It’s easy to delete notes when you have finished with them, just like ripping a page out of a real notebook. You should always be vigilant when deleting pages from your Notebook, but accidents do happen, and you should be able to recover it be using these following steps.
Searching for backups on your computer
1. Open the notebook
2. File > Info > Open Backups
3. Search for the name of the file you are attempting to retrieve
4. Double-click the notebook folder you want to open
5. Select the notebook section backup file you want to open and click “Open“
6. Right-click the tab of the file you’d like to restore and then use the “Move” or “Copy‘ command to put the notes back in their original location.
Searching for backups in OneDrive
1. Open the shared notebook with the missing notes
2. Click “View” tab and “Deleted Notes’
3. Right click the page tab that you need to restore and use the “Move” or “Copy” command to put the notes back in their original location.
TOP TIP: Any notes that have been deleted in the past 60 days should appear in the Recycling Bin, unless it has been manually emptied in that time. If you notice that you have accidentally deleted something that you shouldn’t have then our advice is not to wait around, and to follow the above steps to try to restore is as soon as possible.
6. Sharing notebooks across the team
Now that your note is complete, it’s time to share it! It’s so helpful to share your notes with others when; sharing your ideas, working on others with a project, or working away from others e.g. working from home or remotely. Here is how you can share your digital notebook to others without the fuss;
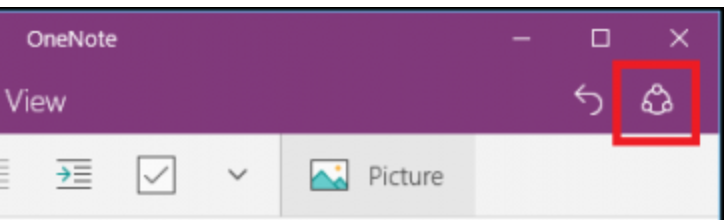
1. Click the “Share” button in the top right hand corner.
2. Click on the relevant app you’d like to use to share (e.g. Mail, Facebook, Email, Gmail, OneNote etc)
or to copy your note as a link…
1. Find the note that you’d like to share and right-click on it to bring up the submenu
2. Select “Copy Link to Page”
Conclusion
Microsoft OneNote is the perfect application for such a wide variety of users, and if you follow our 6 Basic Tips to OneNote we know that you can make the most of all of the features and really personalise it to suit you!
Download 6 Basic Tips to OneNote