Book Creator Guide
In this weeks guide we’ll be looking at Book Creator and how you can implement the app within your classroom.
Book Layout
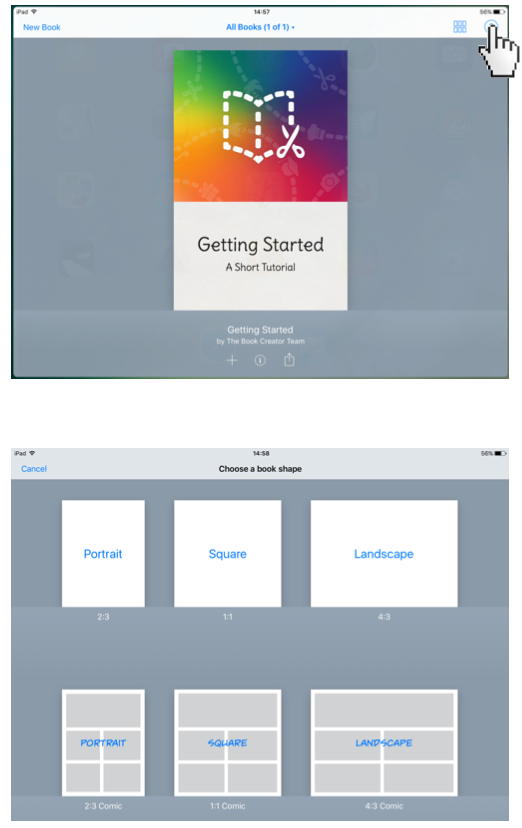
When you open Book Creator, you will see a couple of options;
Portrait
Square
Landscape
Select the style in which you would like your book to be in.
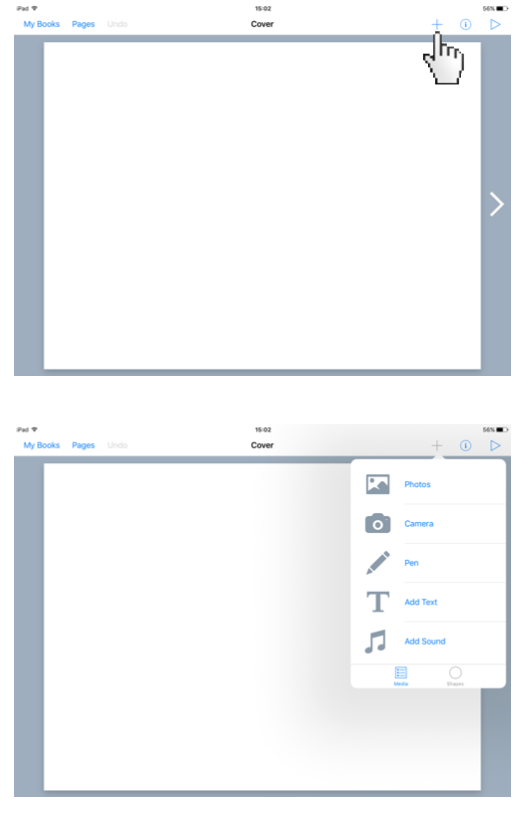
Adding Content
As with most Apple Apps, you can seamlessly add content to your book by pressing on the + plus sign.
This will bring up a menu of a whole bunch of items including;
Photos
Pen
Text
Sound
You can even take photos directly from the camera and put them straight into your book, by using the Camera option.
Editing Options
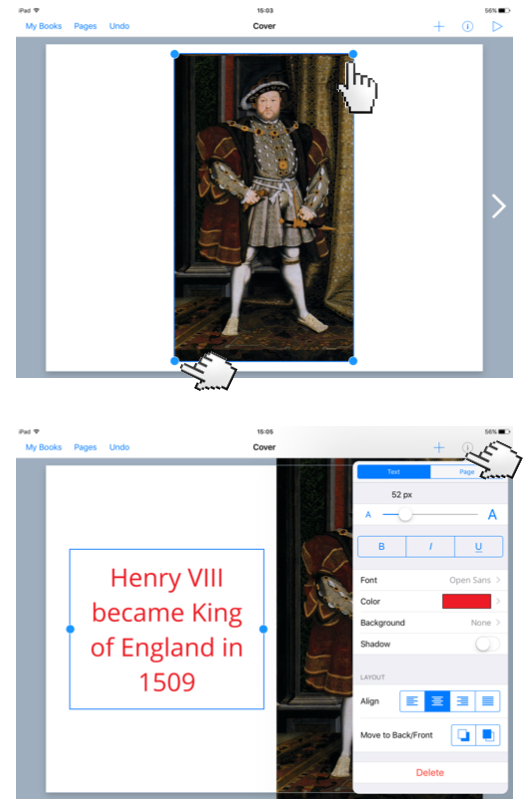
Here we have inserted an image. We can do multiple things such as, rotate, resize, and repositioning the photo anywhere on the white canvas by using the blue dots.
You can select a text item on your canvas by tapping on it, you can then click the inspector button.
The inspector button allows you to change the size, colour and the arrangement. You can even add background colours, font styles, and shadows to really make your book stand out.
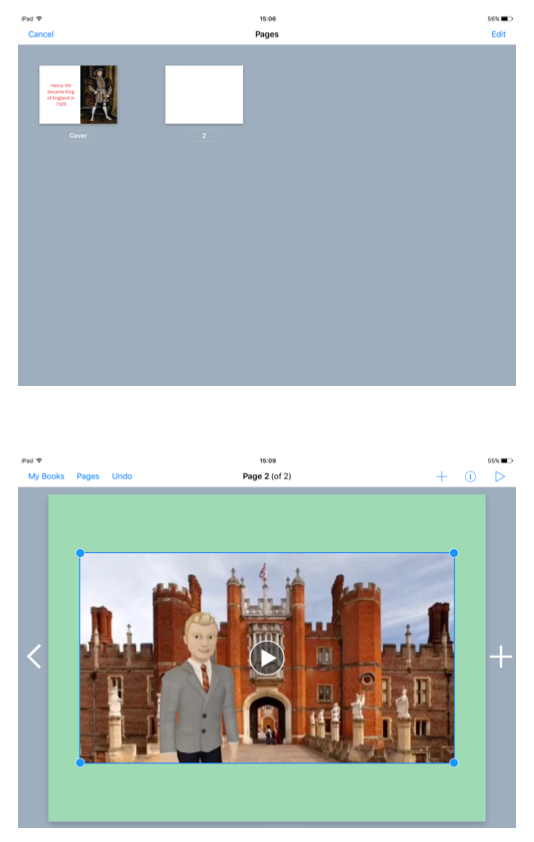
Adding Pages
You can add additional pages to a single book by pressing on the “Pages” button on the top tab.
From here you can even insert video to your book. This allows a more interactive experience for your pupils.
Saving and Exporting
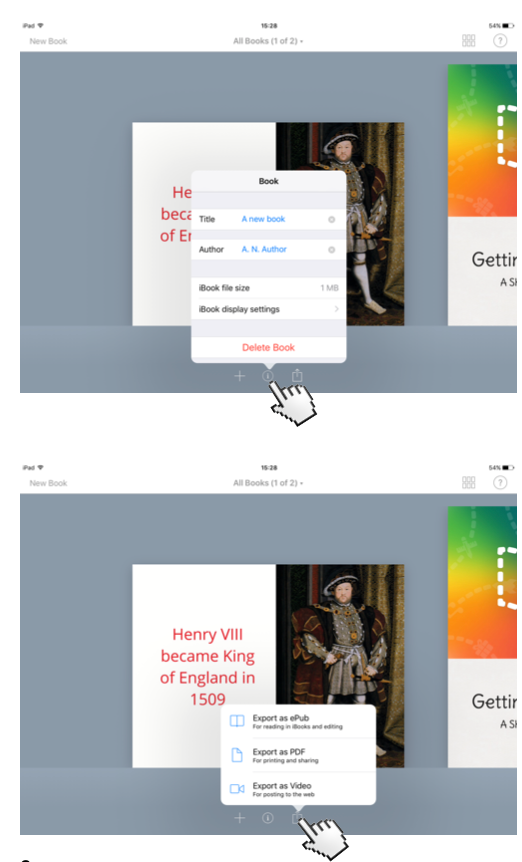
Back on the homepage, you can click the information button (the middle icon) to change the title and author of your book.
By clicking on the Share icon (icon to the right of the information icon) allows you to export the book as a ePub, PDF, or Video format.
The ePub format allows your book to be opened in the iBooks app.
Conclusion
There you have it! A bitesized look into the Book Creator app. I hope you found this useful, additionally, you can find more guides by visiting our resources page https://hybridmedia.io/resources
Download Book Creator Guide in PDF Format.