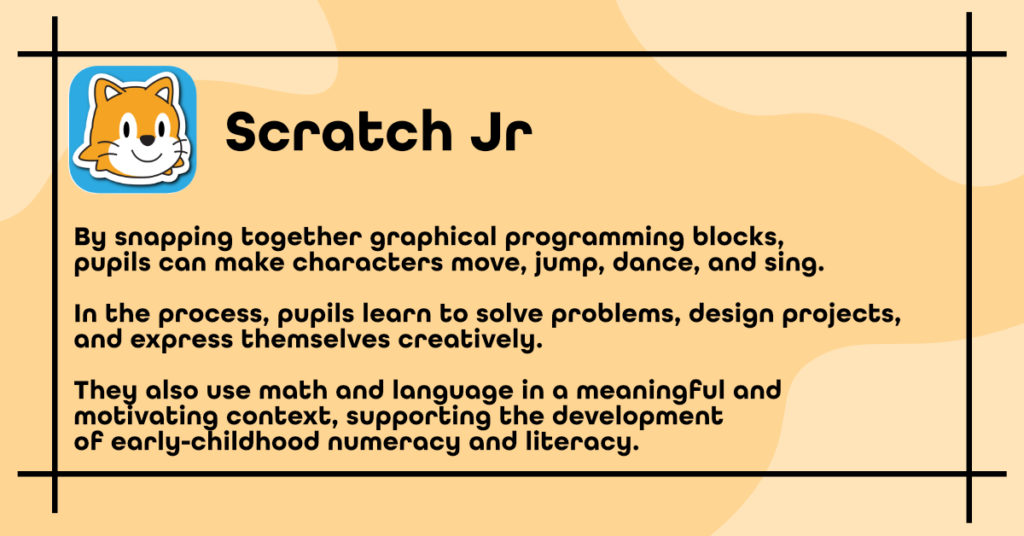
Scratch Jr. A complete overview to coding with Scratch and how to implement basic coding structure to your ICT lessons.
This Activity will teach students about some of the basics of Scratch Junior. By the end of this activity, students will be able animate characters, display messages. The possibilities are endless.
Let’s get started with Scratch Jr…
Becoming familiar with Scratch Jr Interface
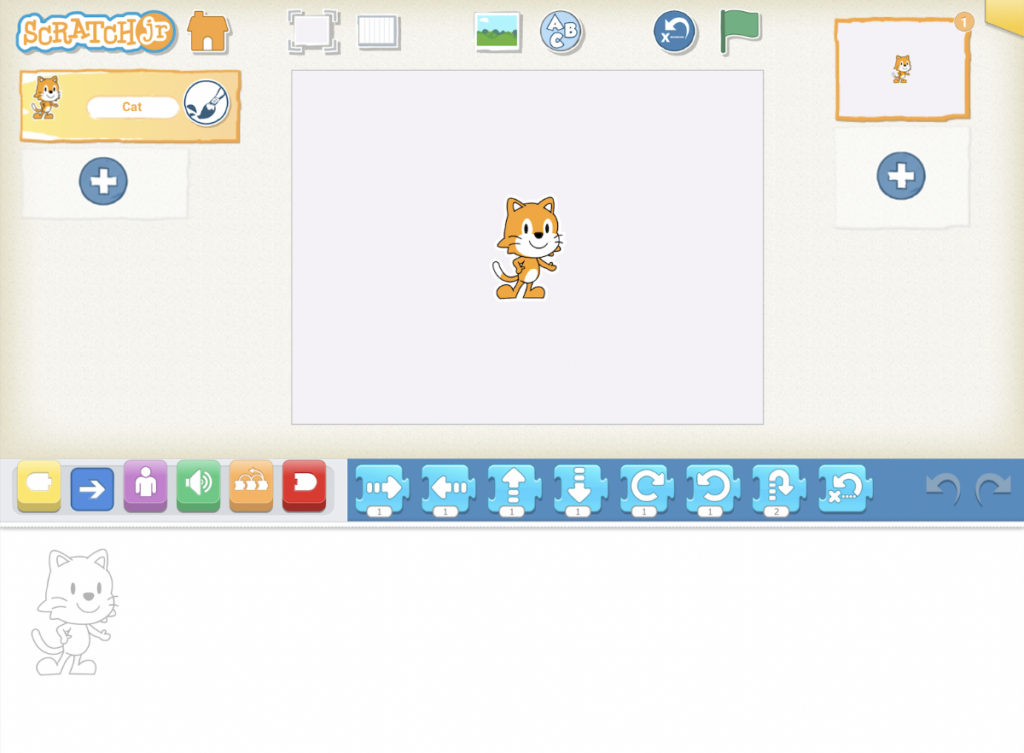
Presentation Mode
Expand the stage to the full screen.
Save

Save the current project and exit to the home page.
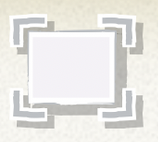
Grid
Toggle on (and off) the x-y coordinate grid.
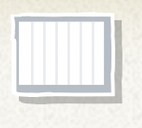
Change Background
Select or create a background image for the stage.
Add Text
Write titles and labels on the stage.
Reset Characters

Reset all characters to their starting positions on the stage. (Drag characters to set up new starting positions.)
Green Flag

Start all programming scripts that begin with a “Start on Green Flag” block by tapping here.
Pages
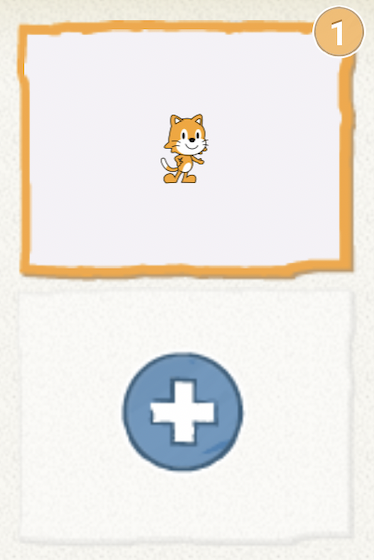
Select among the pages in your project — or tap the plus sign to add a new page. Each page has its own set of characters and a background. To delete a page, press and hold it. To reorder pages, drag them to new positions.
Undo and Redo

If you make a mistake, tap Undo to go back in time, reversing the action. Tap Redo to Reverse the last Undo.
Blocks Palette

This is the menu of programming blocks. Drag a block into the programming area, then tap on it to see what it does.
Block Categories
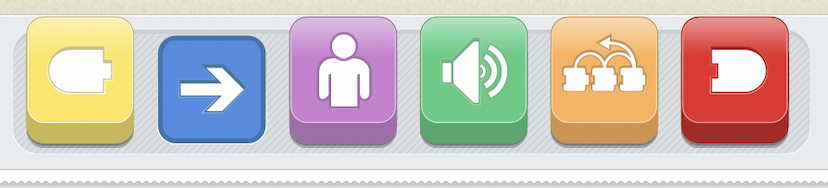
This is where you can select a category of programming blocks:
Triggering blocks (Yellow), Motion (Blue), Looks (Purple), Sounds (Green), Control (Orange), End Blocks (Red).
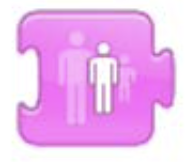
Characters
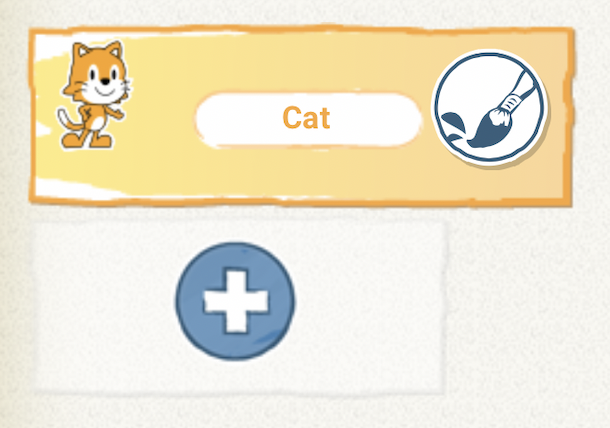
Select among the characters in your project – or tap the plus sign to add a new one. Once a character is selected, you can edit its scripts, tap its name to rename it, or tap the paintbrush to edit its image. To delete a character, press and hold it. To copy a character to another page, drag it to the page thumbnail.
Programming Area and Programming Scripts
This is where you connect programming blocks to create scripts
Snap blocks together to make a programming script, telling the character what to do. Tap anywhere on a script to make it run. To delete a block or script, drag it outside the programming area. To copy a block or script from one character to another, drag it onto the character’s thumbnail.
Scratch Jr Animations and Blocks Descriptions
Triggering Blocks
Start on Green Flag
Starts the script when the Green Flag is tapped.
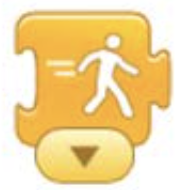
Start on Tap
Starts the script when you tap on the character
Start on Bump
Starts the script when the Green Flag is tapped.
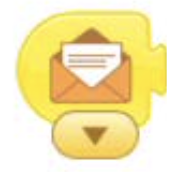
Start on Message
Starts the script when you tap on the character
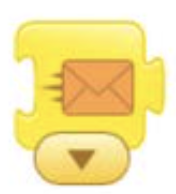
Send Message
Starts the script when the Green Flag is tapped.
Motion Blocks
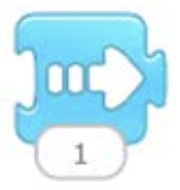
Move Right
Moves the character a specified number of grid squares to the right.
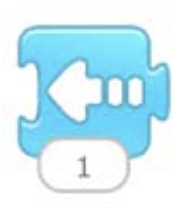
Move Left
Moves the character a specified number of grid squares to the left.
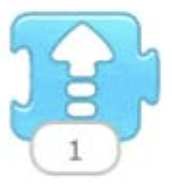
Move Up
Moves the character a specified number of grid squares up.
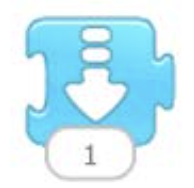
Move Down
Moves the character a specified number of grid squares down.
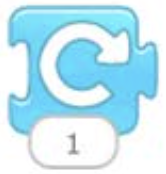
Turn Right
Moves the character a specified number of grid squares down.
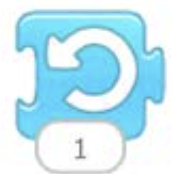
Turn Left
Rotates the character counterclockwise a specified amount. Turn 12 for a full rotation.
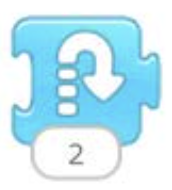
Hop
Rotates the character counterclockwise a specified amount. Turn 12 for a full rotation.

Go Home
Resets the character’s location to its starting position. (To set a new starting position, drag the character to the location.)
Looks Blocks
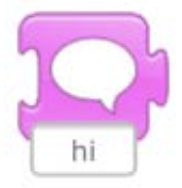
Say
Shows a specified message in a speech bubble above the character.
Grow
Increases the character’s size.
Shrink
Decreases the character’s size
Reset Size
Returns the character to its default size.
Hide
Fades out the character until it is invisible.
Show
Fades in the character until it is fully visible.
Sound Blocks
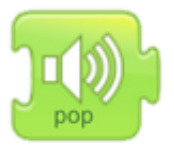
Pop
Plays a “pop” sound

Recorded Sound
Plays a sound recorded by the user.
Control Blocks
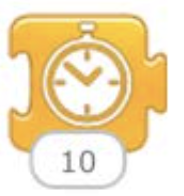
Wait
Pauses the script for a specified amount of time (in tenths of seconds).

Stop
Stops all the characters’ scripts.
Set Speed
Changes the rate at which certain blocks are run.
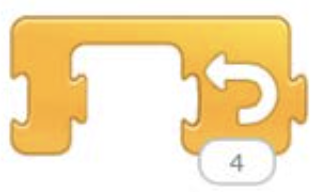
Repeat
Runs the blocks inside a specified number of times.
End Blocks

End
Indicates the end of the script (but does not affect the script in any way).

Repeat Forever
Runs the script over and over.
Go To Page
Changes to the specified page of the project.
Let’s create a Scratch Jr activity
Choosing a stage background
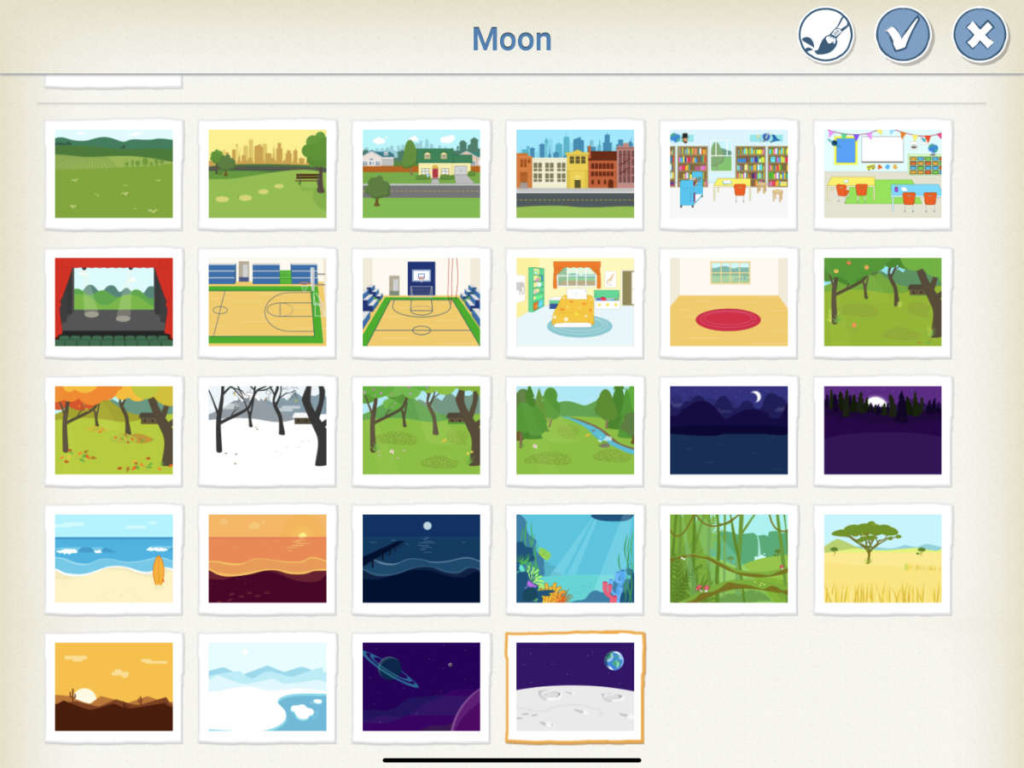
Choose a background for your game by clicking on the “Change Background” button.
For this example, we’ll be using the Moon background
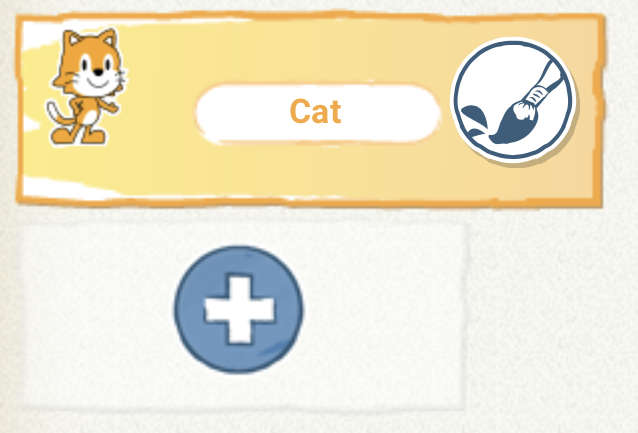
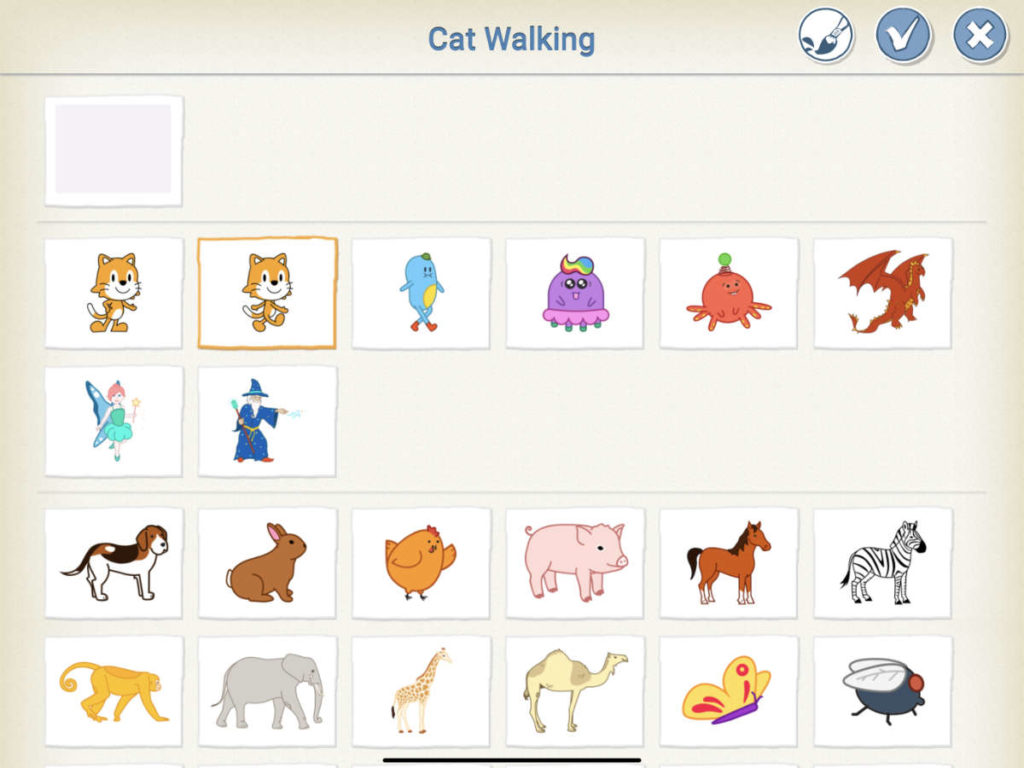
Add some additional characters to your game by choosing the + Button on the left hand side.
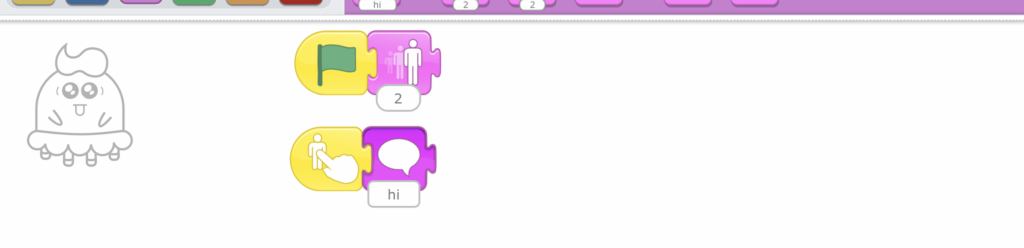
We can change the size of our characters, to give the illusion of depth of field.
By using the green flag button found in the yellow menu and a shrink button found in the magenta menu.
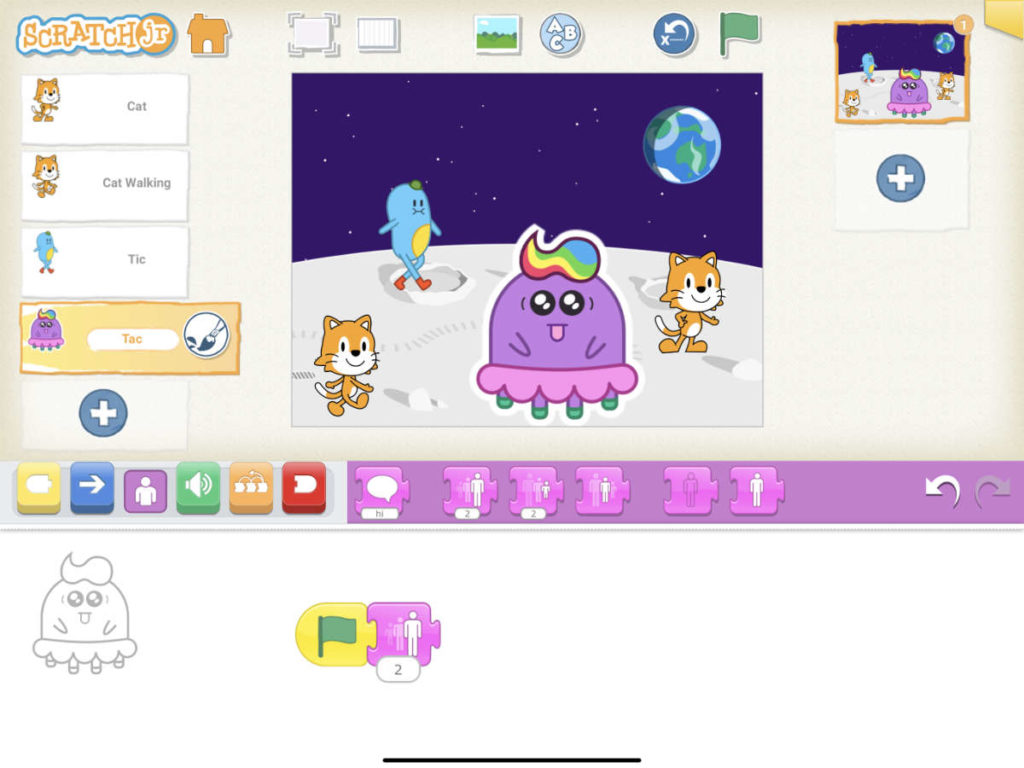
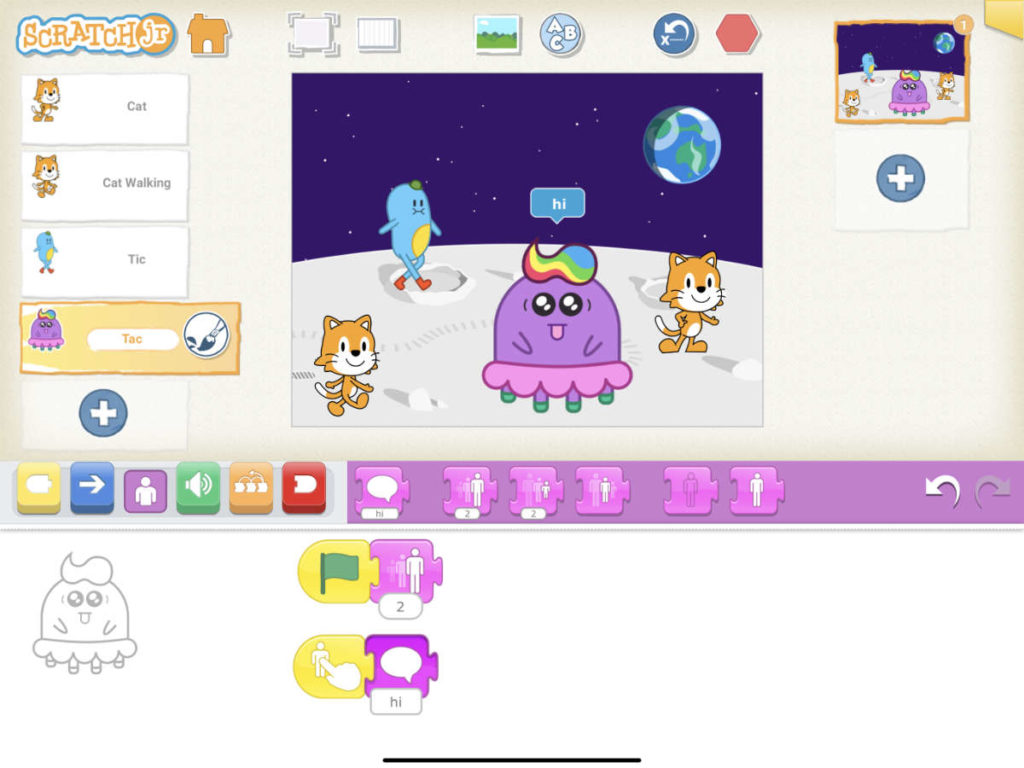
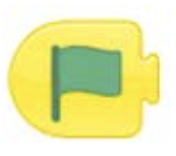
Add messages for each of your characters when they are touched using the yellow “When Touched” button and the magenta speech bubbles.
Add some animations to the characters after they have finished talking, for example, we’ll be adding a “jump” animation to our character once they have spoke.
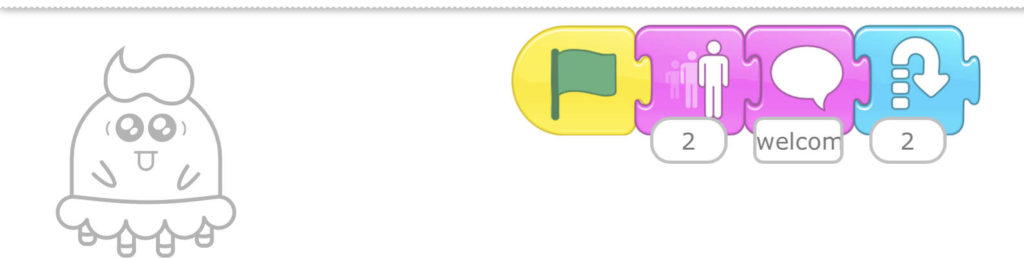
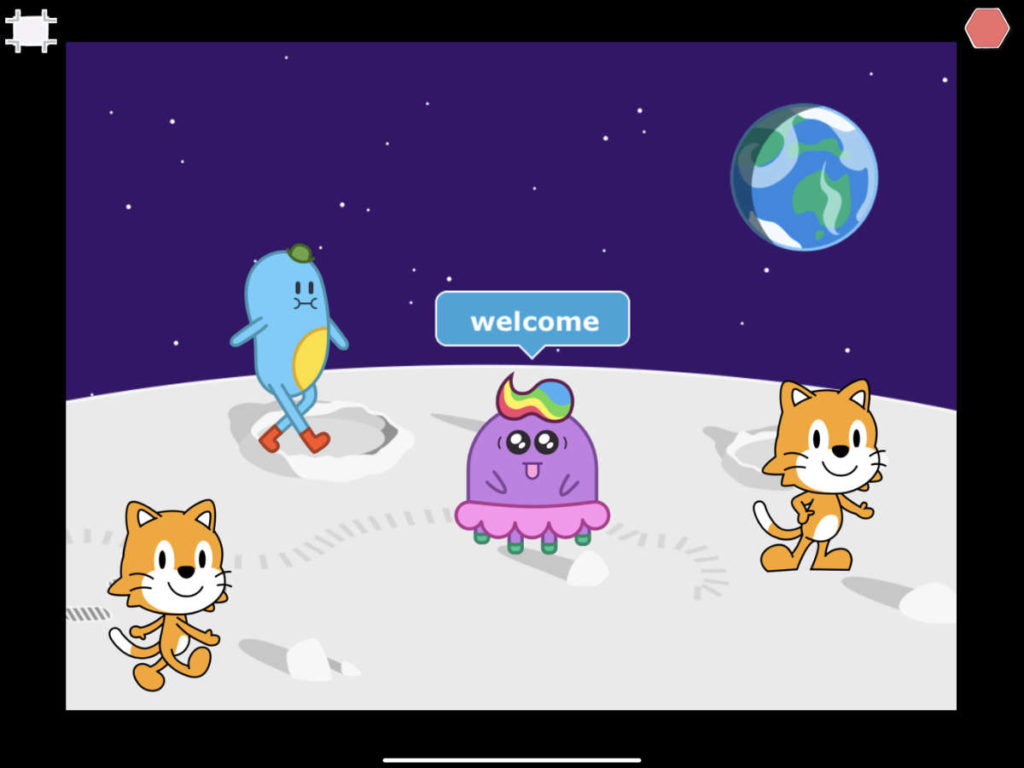
When you have adding various animations to your character, you can view your game in full screen to see if it works by pressing the “Presentation Mode“
Congratulations…
You have now created an interactive game for your pupils. There are plenty more resources on the Scratch Jr Website.
Additionally, you can check out our other resources on various other apps to enhance your classroom experience.
Download a PDF version of Scratch Jr. A Complete Overview